


Salam semua,
Ohw..pagi ni kita breakfast ala2 omputeh pulak lah ye. Dah nama pun duduk kat negara atas angin, sekali sekala kenalah blend in with the culture ye tak?

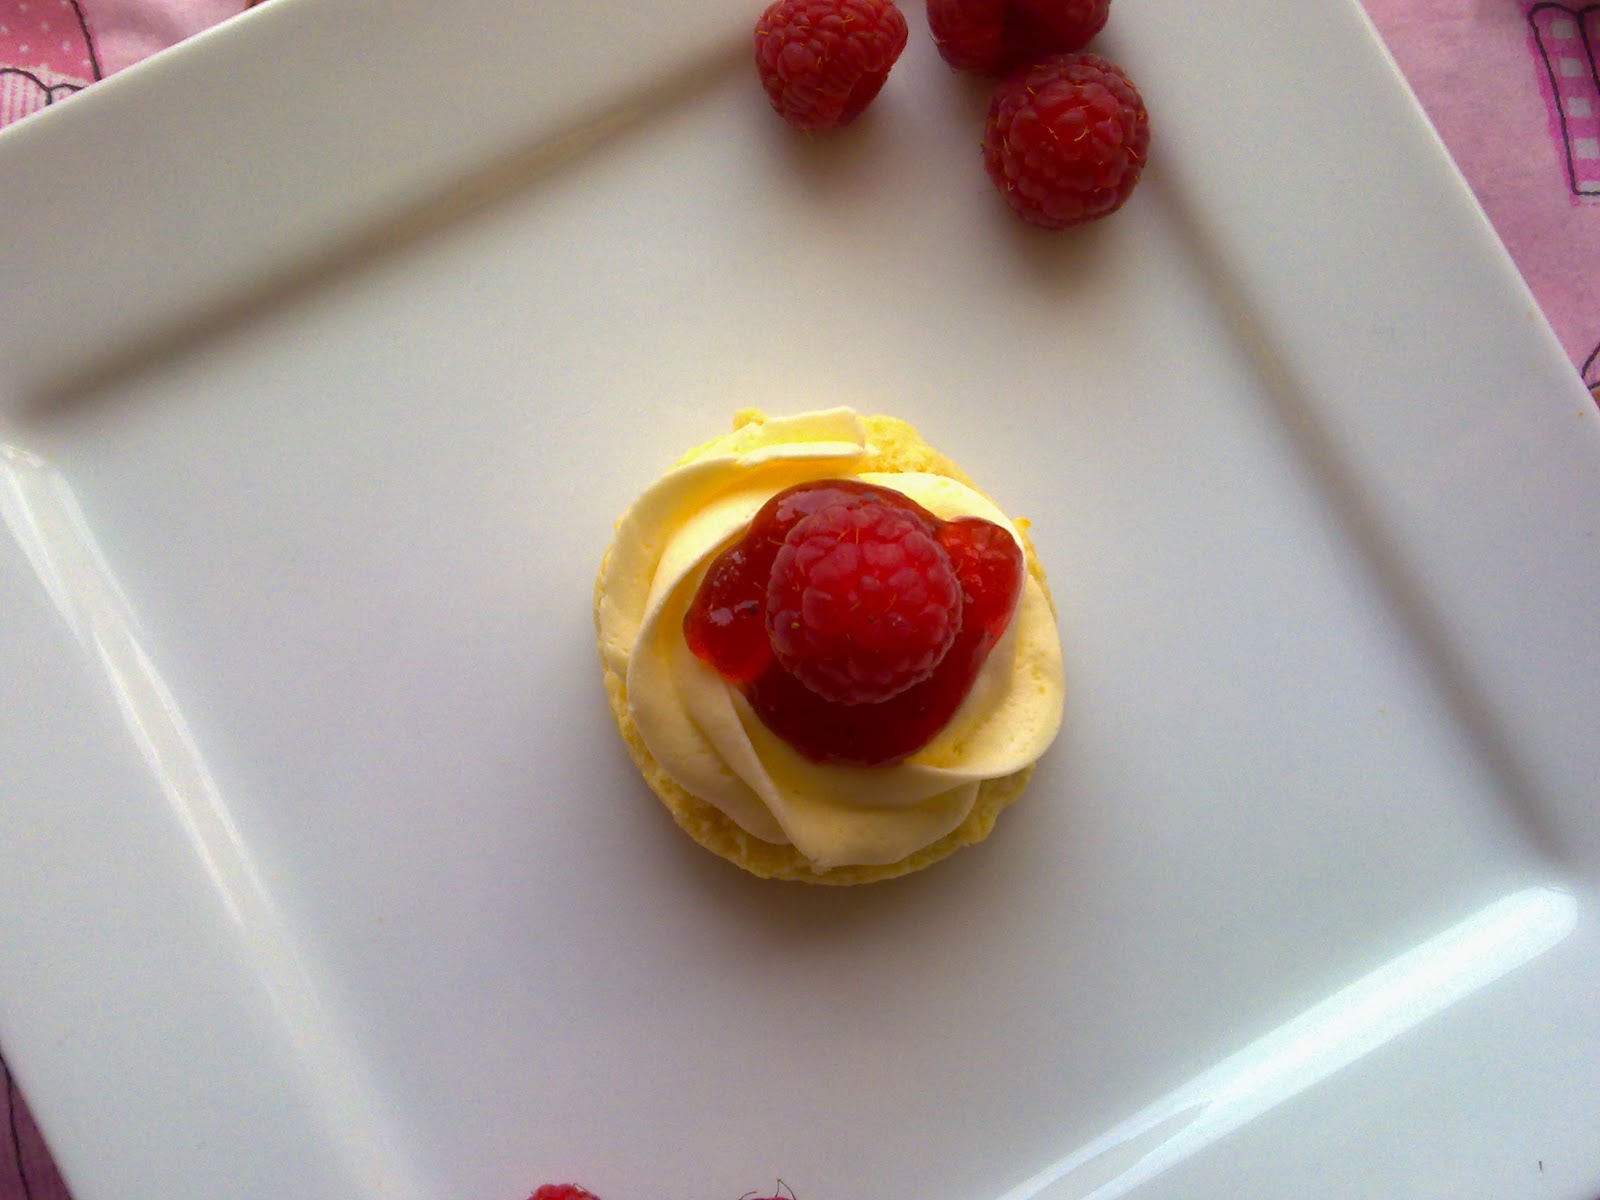
By the way, made this scone for breakfast today and bekal untuk Dalea ke sekolah. Actually ada banyak resipi scone ni. Memandangkan ini bukanlah makanan harian kita, so ah kak tak tau ler resipi mana yang lebih mengancam kalbu.

Rasa scone ni seakan2 kek dan roti, tak manis dan tak tawar sangat. So bila di makan dengan cream and strawberry/raspberry jam ni memang ngam lah rasanya.

Ok, untuk resipi scone ni, ah kak tengok kat SINI. Untuk beginner macam kita ni memang sesuai lah kalau ikut cara Delia ni sebab dia tunjuk step by step macam mana nak buat scone ni. Permulaannya, dough ni memang agak melekit, so kita boleh tambah sedikit dem sedikit tepung supaya tak melekat. Tapi jangan banyak2, nanti keras pulak.

From Deliaonline.com :-
1. To make about 10 scones, begin by sifting 8 oz (225 g) of self-raising flour and a pinch of salt into a large mixing bowl. Add 3 oz (75 g) of butter, cut into small lumps. This must be at room temperature – if it is too cold, it will be difficult to rub in. Lightly rub the butter into the flour until the mixture looks like breadcrumbs.
2. Add 1½ oz (40 g) of golden caster sugar and mix in.
3. In a jug, beat one large egg together with 2 tablespoons of buttermilk and start to add it to the rubbed-in mixture.
4. Mix in with a palette knife.
5. When it begins to come together, finish off with your hands – it should be soft but not sticky (if the dough seems too dry, add a little more buttermilk, a teaspoon at a time).
6. The dough should come together and leave the sides of the bowl clean.
7. Shape the dough into a round with your hands and place it on a lightly floured surface. Flour the rolling pin and lightly roll out the dough.
8. Take great care not to roll the dough any thinner than 1 inch (2.5 cm) – this is the secret of well-risen scones. Measure it if you're not sure!
9. Use a 2 inch (5 cm) round cutter to cut out the scones – place the cutter on the dough and give it a sharp tap – don't twist it, just lift it up and push the dough out. Carry on until you are left with the trimmings, then bring these together to roll out again until you can cut out the last scone.
10. Place the scones on a lightly greased baking tray that has been dusted with flour. Brush them lightly with a little more buttermilk then dust with flour. Bake in a hot oven – gas mark 7, 425°C (220°C) – for 10-12 minutes, or until they are well risen and golden brown, then remove them to a wire rack to cool.
11. Scones should have a light, open texture and are best eaten very slightly warm. Don't forget that they do not keep very well so, in the unlikely event of there being any left, pop them in the freezer.
For a detailed step by step with photo, just go HERE.


Well, that's about it. See ya...Selamat mencuba.


1 comments:
cream tu macm mane nak buat ye?
Post a Comment